Clay Pinch Pots
Making simple pinch pots from air dry clay allows children to shape and mold earthy creations using their hands. They make wonderful little vessels for holding treasures both real and imagined.
Why Make Pinch Pots?
- Molding clay is sensory, calming, and soothing
- Develops fine motor skills and dexterity
- Opportunity to discuss shapes, textures, and 3D form
- Allows free-form building without right/wrong result
- Natural clay is eco-friendly and made from the earth
- Finished pots make great gifts, vases, or hideaways for trinkets
What You Need:
- Air dry clay, natural clay, or homemade salt dough
- Acrylic paints or natural pigments
- Leaves, flowers, seeds (optional)
- Shells, pebbles, beads (optional)
Best Ages:
Ages 3+ can pinch basic pots with supervision. Ages 5+ can work more independently.

Creating Pinch Pots Step-by-Step:
- Give children a ball of clay about the size of a grapefruit. Have them cup it in their hands.
- Press thumbs into the center of the ball to hollow out a space for the pot belly.
- Pinch and smooth the clay outward from the hole to form the pot walls. Turn as you pinch.
- Add decorative details like pressed leaves or beads if desired.
- Allow pots to dry fully then paint or leave natural.
- Fill with air plants, flowers, or kid's special treasures!
Making pinch pots allows the flexibility and creativity of sculpting without the need for any special tools. Let kids follow their own natural instinct for shaping as they create unique pots.

FAQ:
No, a rotating platform is not necessary for making simple pinch pots with air dry clay. The key steps are:
- Start with a ball of clay and cup it in your hands
- Use thumbs to press into the center of the ball, hollowing out a space
- Pinch the clay outward from the inside hole to form the pot walls
- Smooth and shape the outside surface with your fingers
- Turn the ball of clay around in your hands as you pinch and shape
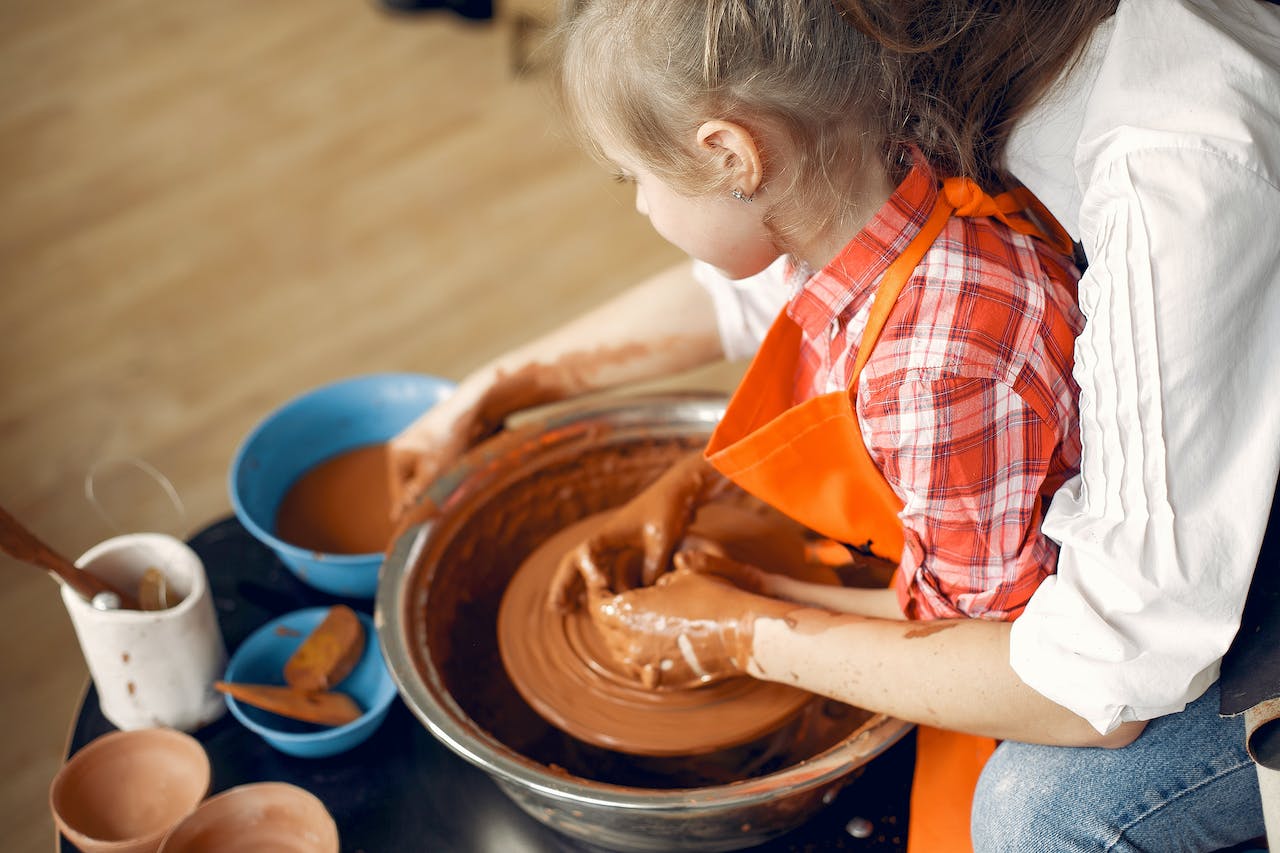
The turning motion can be accomplished by the child's hands alone, no pottery wheel or rotating platform is required. The clay is soft and pliable enough for little hands to manipulate and shape freehand into a basic pot form.
A rotating pottery wheel or lazy susan can be useful for making more symmetrical, refined pots if desired. But for beginner pinch pot projects, the manual dexterity of pinching, smoothing, and rotating the material with one's hands is sufficient and allows a very hands-on, sensory experience for children.
What's the best clay to use for kids' pinch pots?
Air dry clay is a good choice for kids. It doesn't require baking to harden, allowing instant gratification. Natural clays like pottery clay can also work well. Avoid clays that require high oven temperatures. Modeling clay or homemade salt dough are other good options.
How can I decorate pinch pots?
- Paint finished, dried pots with acrylics, tempera, or natural pigments
- Press leaves, flowers, seeds, or beads into the surface before drying
- Wrap with natural jute twine or raffia
- Glue on ribbons, lace, or fabric scraps
- Use a brush and liquid clay slip for added texture
What can pinch pots be used for?
Pinch pots make great:
- Vases for flowers or plants
- Containers for trinkets, coins, gems, or other treasures
- Decoration around the home
- Sent as gifts, especially sets of mini pots
- Toys for imaginary play like cooking
- Decorative bowls, cups, or tableware for doll play


